How to Replace Brake Pads
Materials and Tools Needed
Before you begin, make sure you have the following materials and tools:
- New brake pads (compatible with your vehicle)
- Brake cleaner
- C-clamp or brake piston tool
- Wrench or socket set
- Jack and jack stands
- Lug wrench
- Torque wrench
- Wire brush or sandpaper
- Safety goggles and gloves

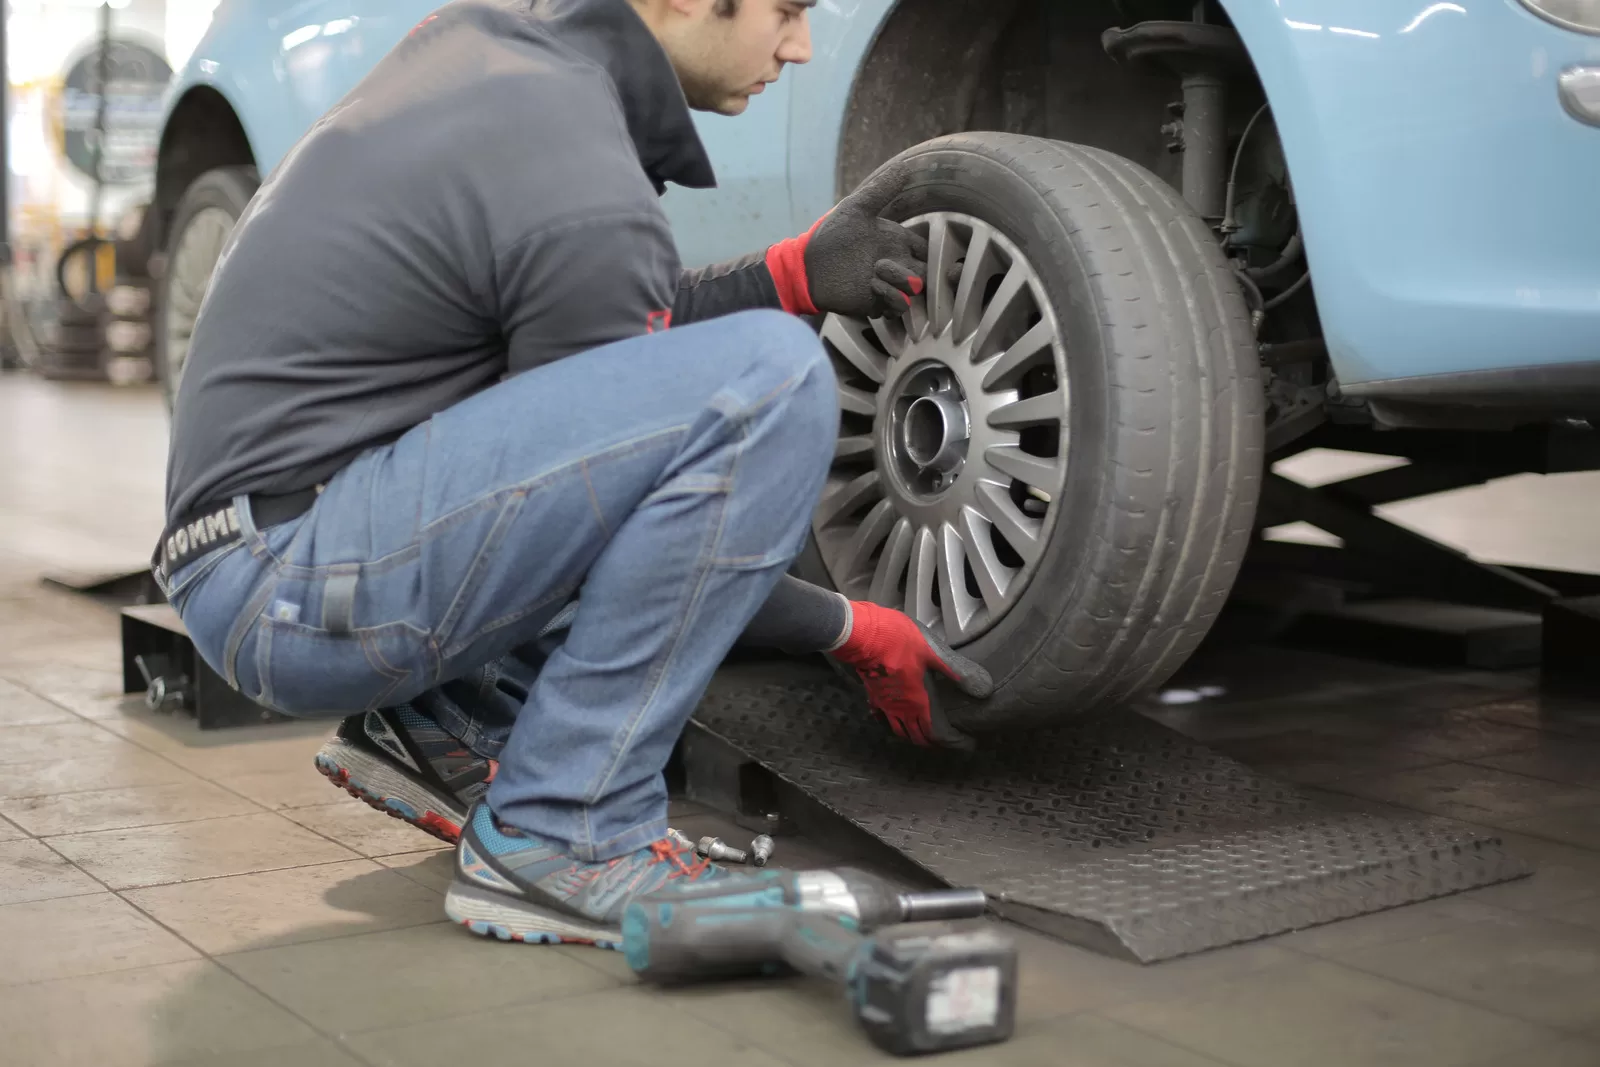
Step 1: Prepare the Vehicle
- Park your vehicle on a level surface and engage the parking brake.
- Loosen the lug nuts on the wheel you’ll be working on, but don’t remove them just yet.
- Lift the vehicle using a jack and secure it with jack stands for safety.
- Fully remove the lug nuts and take off the wheel.
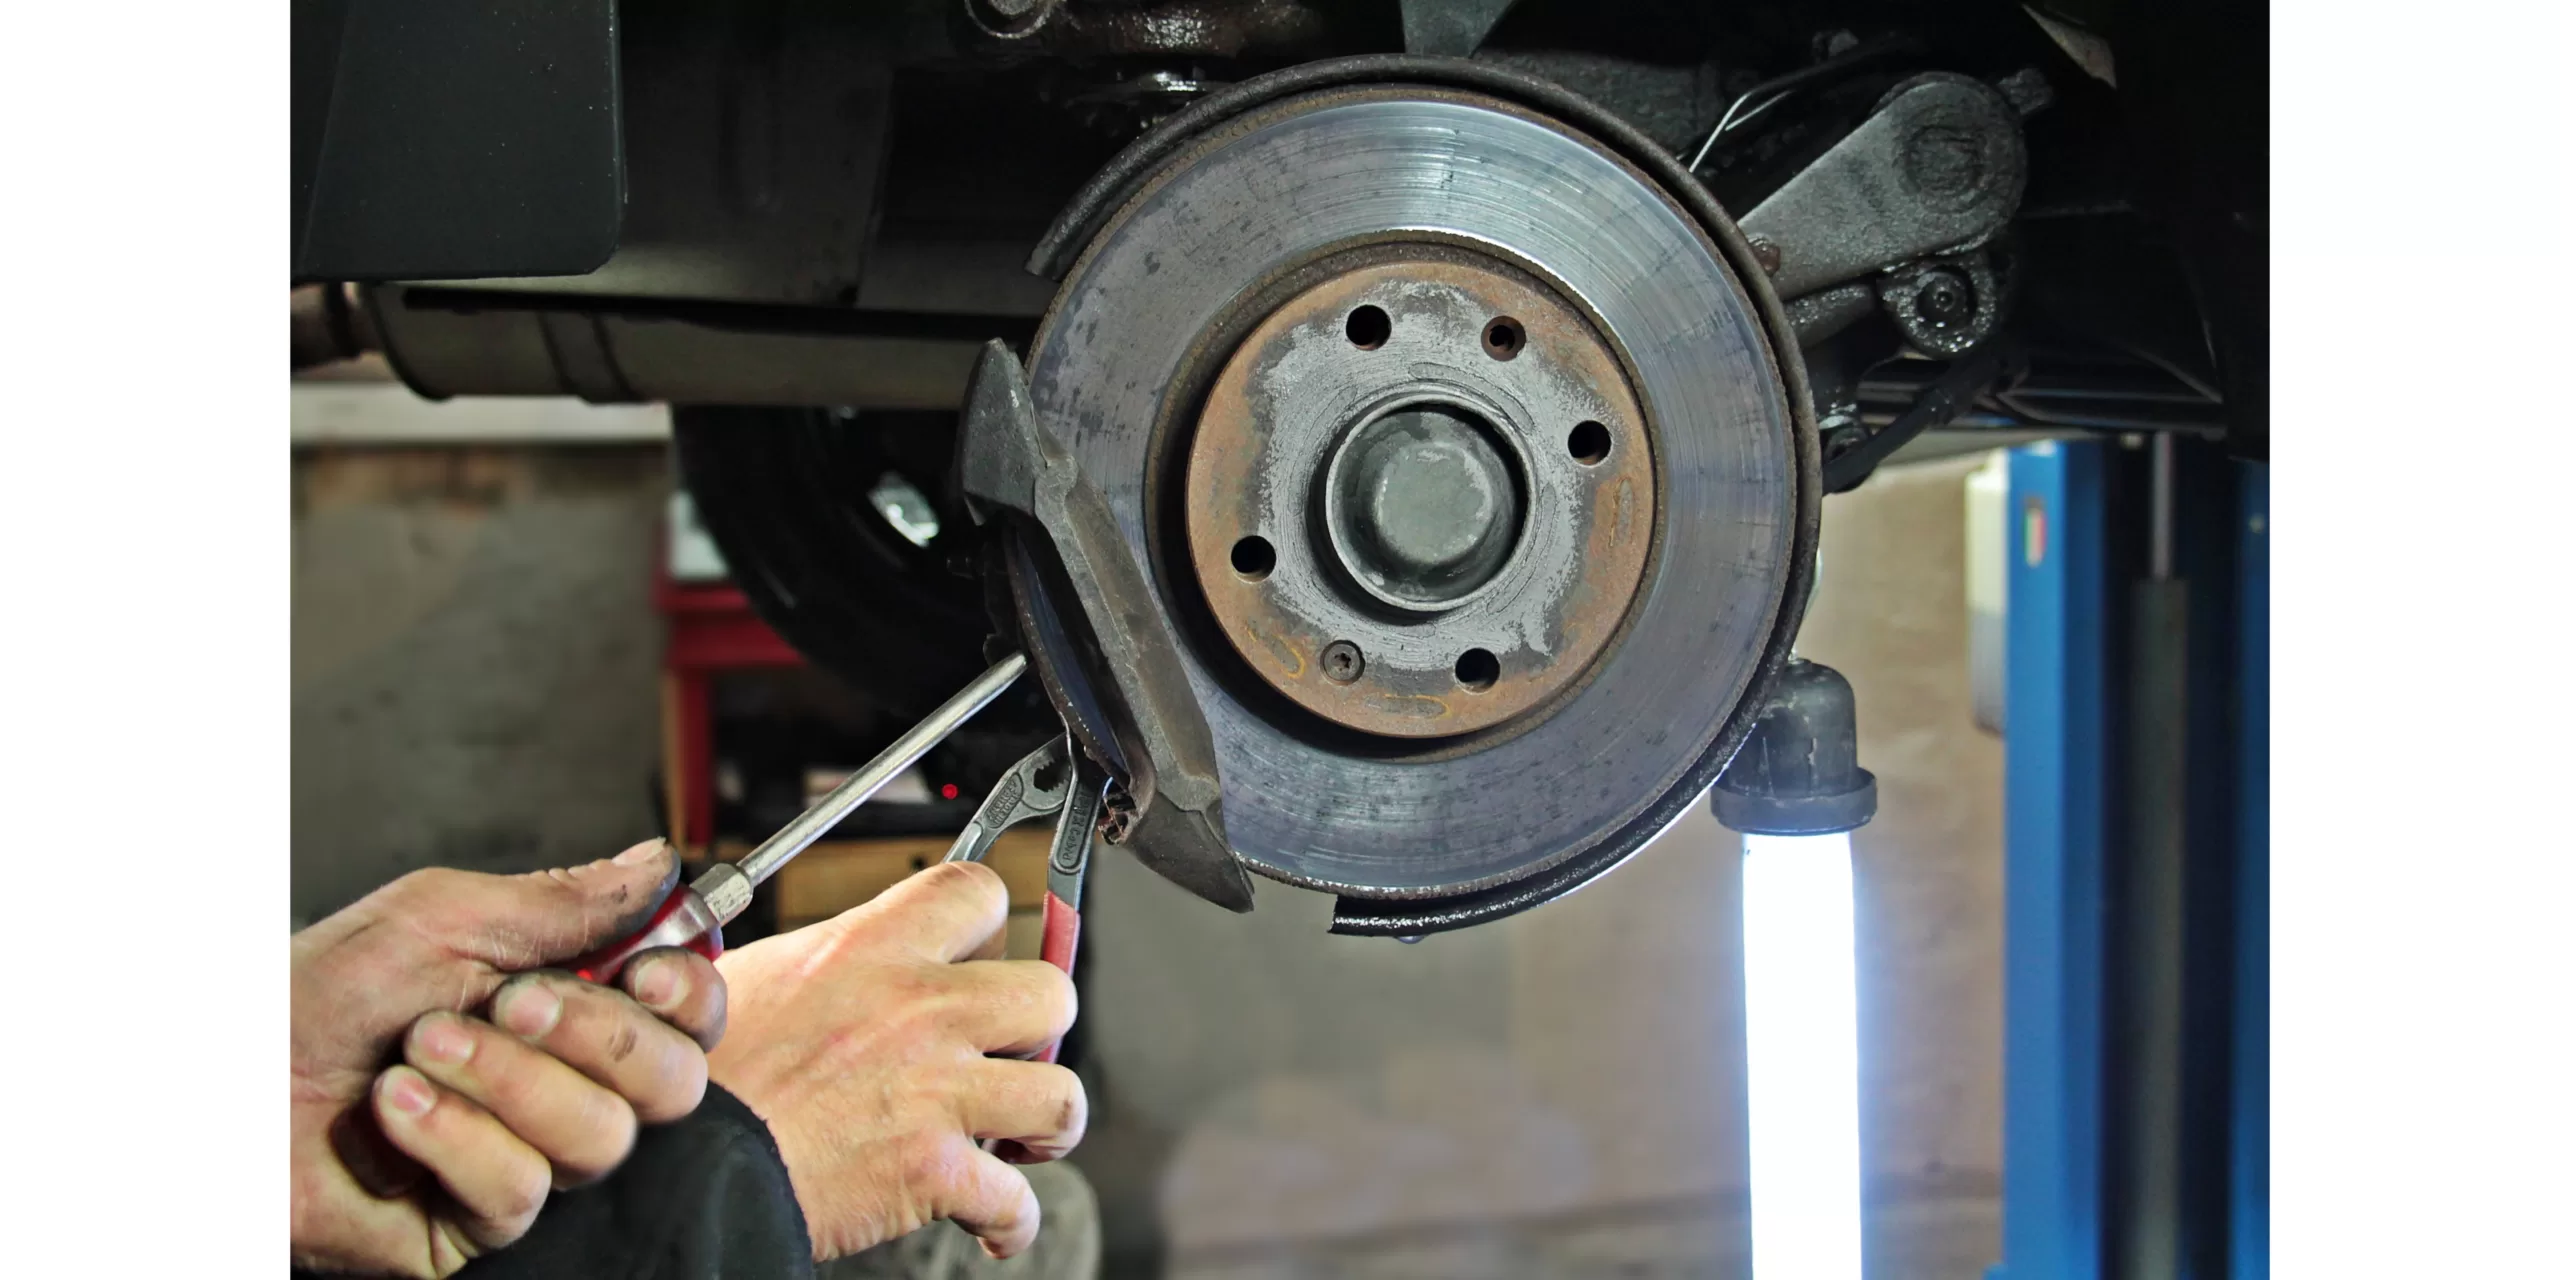
Step 2: Remove the Old Brake Pads
- Locate the brake caliper, which is usually a metal component near the rotor.
- Use a wrench or socket set to remove the bolts holding the caliper in place.
- Carefully lift the caliper off the rotor and suspend it with a wire or bungee cord to prevent strain on the brake hose.
- Remove the old brake pads from the caliper. Take note of their positioning for later reference.
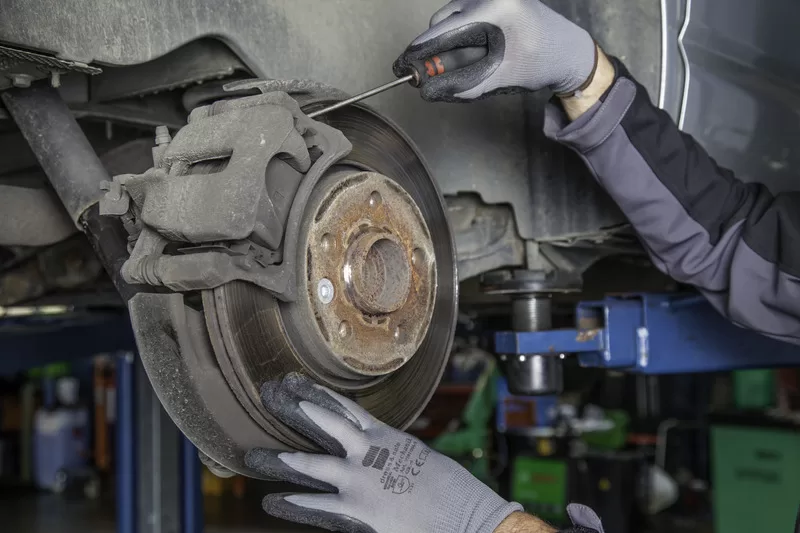
Step 3: Prepare the Caliper and Install New Brake Pads
- Inspect the brake caliper for any signs of damage or wear. If necessary, clean it with brake cleaner and a wire brush or sandpaper.
- Push the brake piston back into the caliper using a C-clamp or brake piston tool. This will create enough space for the new, thicker brake pads.
- Apply a thin layer of brake grease or anti-seize lubricant to the back of the new brake pads.
- Install the new brake pads into the caliper, making sure they match the positions of the old ones.

Step 4: Repeat for Other Wheels and Test the Brakes
- Repeat Steps 2-4 for the remaining wheels that need brake pad replacement.
- Once all the wheels have been reassembled, start the vehicle and pump the brakes a few times to ensure proper pad positioning.
- Test the brakes by gently applying pressure and ensuring the vehicle comes to a smooth stop.
- If everything feels secure and functions properly, the brake pad replacement is complete.